
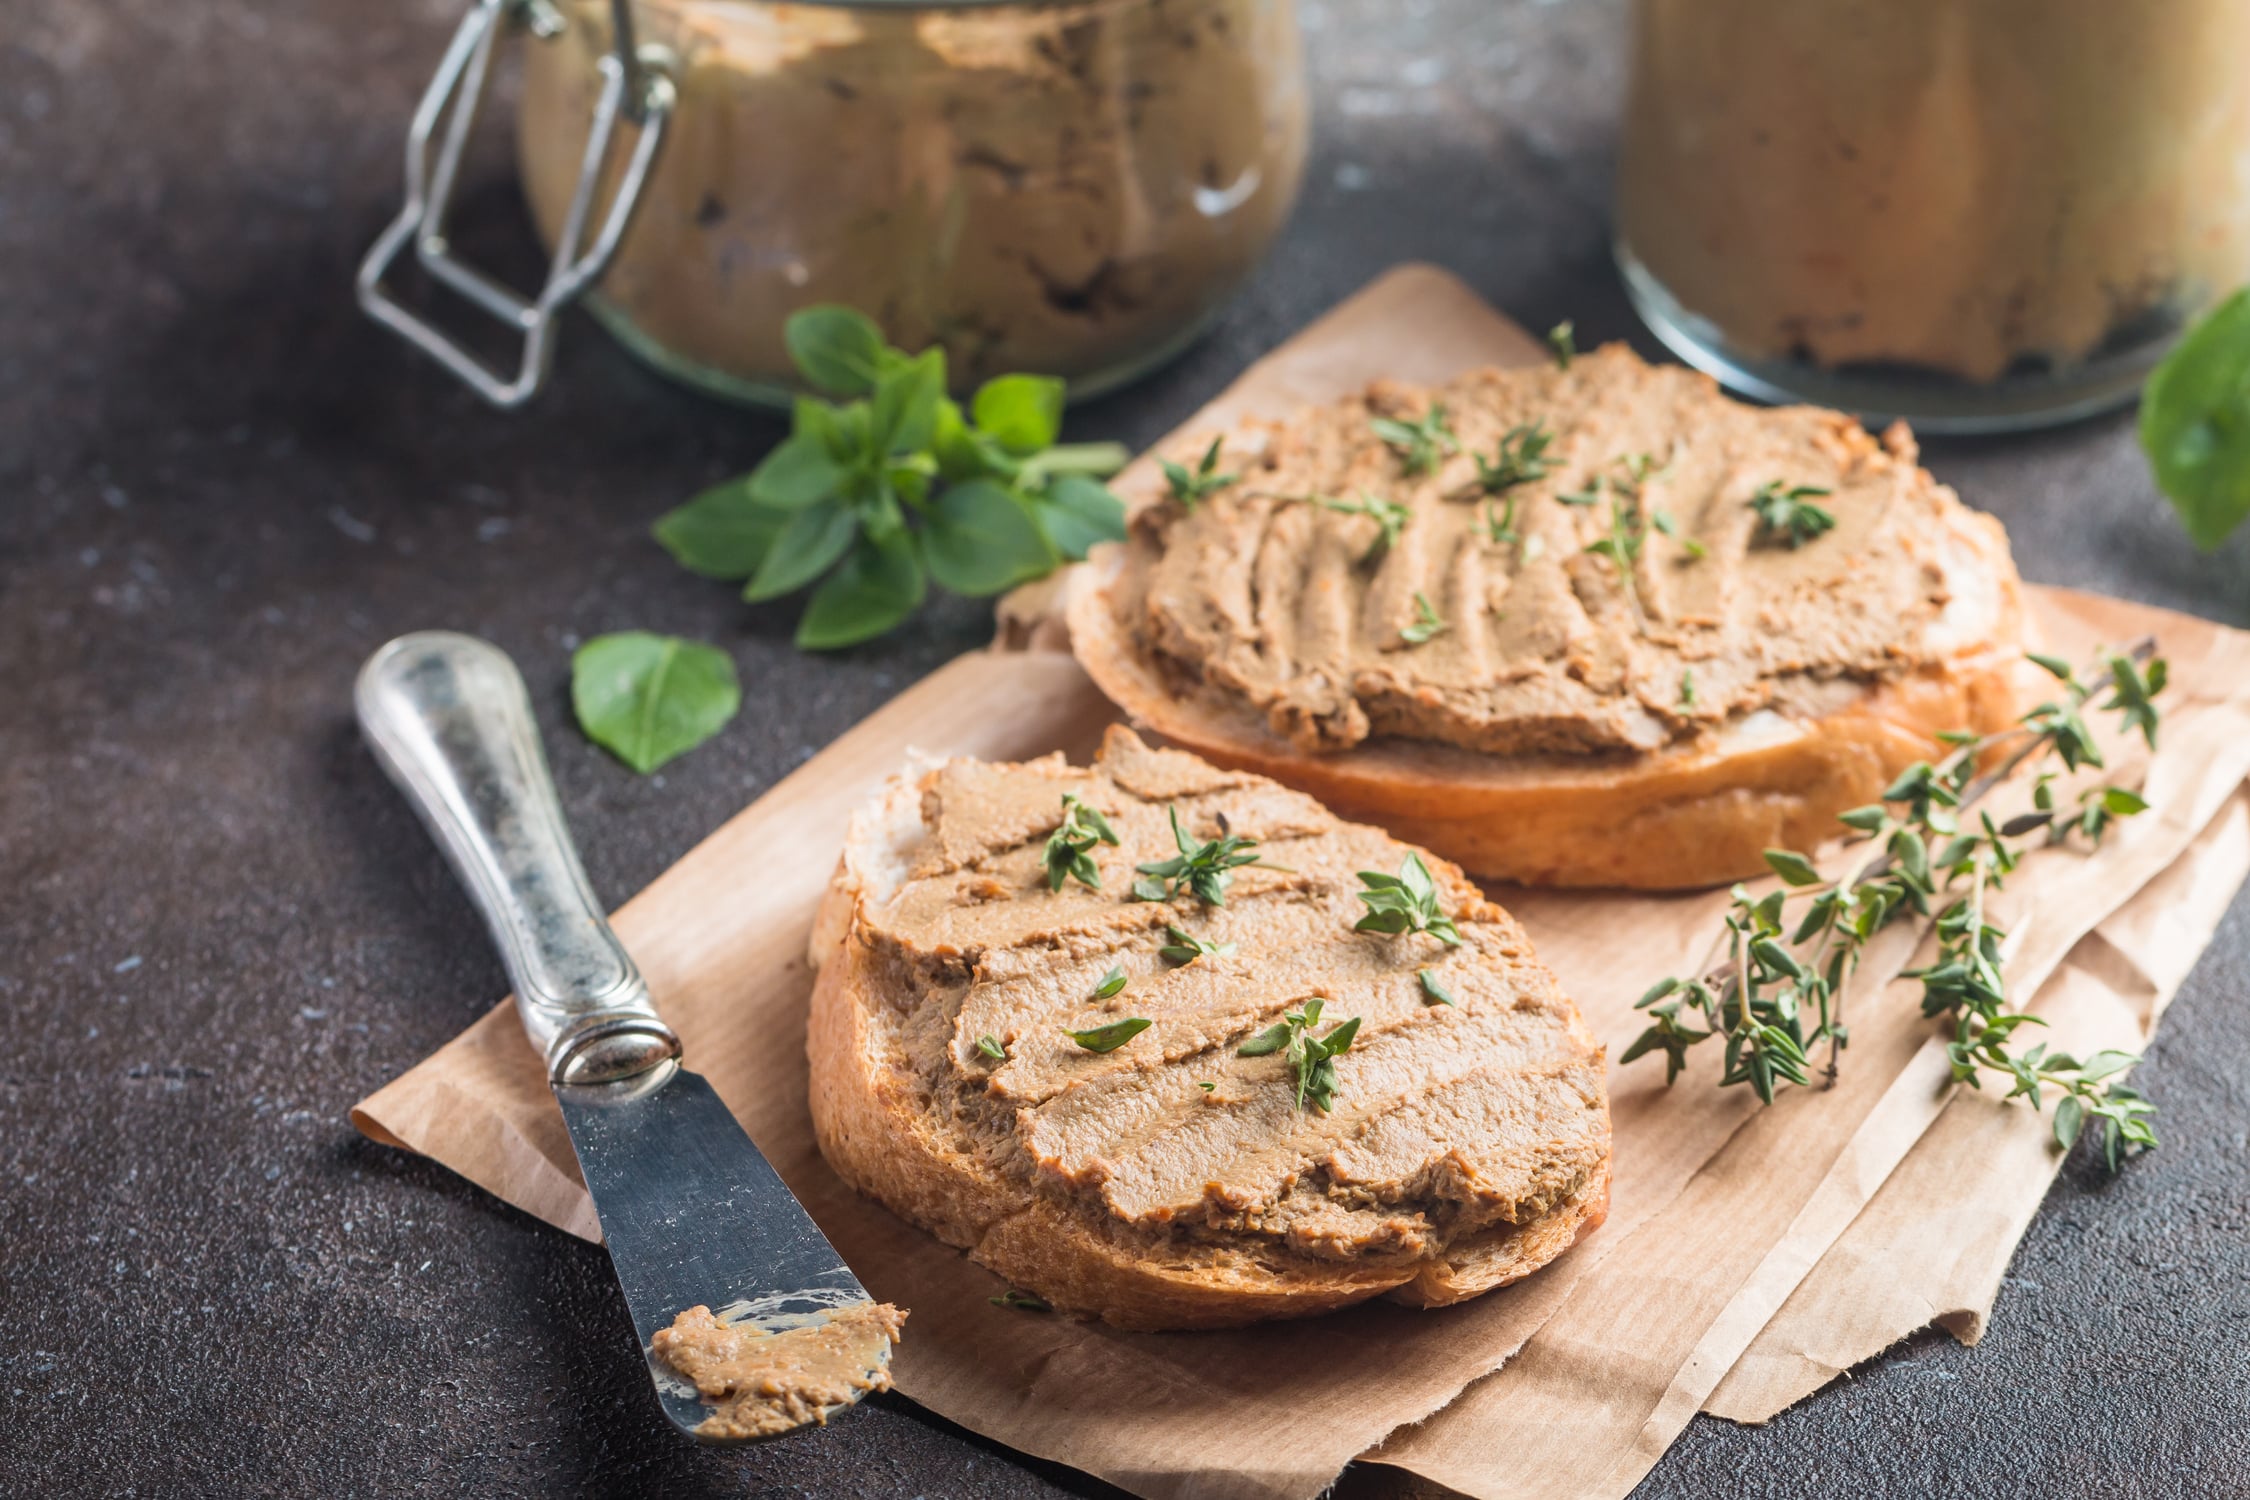
What’s the Technique for a Silky-Smooth Chicken Liver Pâté with Brandy?
The gastronomic world is ever-evolving, with innovative recipes and tantalizing food creations emerging every day. However, one dish has stood the test of time with its rich flavors and elegant texture – the Chicken Liver Pâté. This classic delicacy, often served as an appetizer, holds a special place in culinary arts due to its smooth texture, tantalizing taste, and relatively simple preparation process.
To be more precise, we’re talking about a specific version of this dish – one that incorporates the warm, deep flavors of brandy. The technique for a silky-smooth Chicken Liver Pâté with Brandy is our focus today.
Lire également : How to Perfect a Creamy Lobster Mac and Cheese with Aged Gouda?
Choosing the right ingredients
Before delving into the specifics of the recipe, it’s prudent to emphasize the importance of choosing the right ingredients. The key to a perfect Chicken Liver Pâté lies not just in the method of preparation, but also in the quality of the ingredients used.
The chicken livers should be fresh, while the butter, garlic, thyme, cream, salt, and pepper need to be of the highest quality you can find. The addition of brandy, in particular, can be a game-changer, infusing the dish with a depth of flavor that only a good alcoholic beverage can provide.
A lire également : Can You Craft a Flavor Explosion with Homemade Kimchi and Traditional Korean Techniques?
The Art of preparing your Chicken Livers
The first step in this recipe involves preparing the chicken livers. This is arguably the most vital part of the process, as it determines the overall taste and texture of the pâté.
Begin by cleaning the chicken livers carefully. Remove any connective tissue, but be careful not to break the liver apart. Heat a pan over medium heat and add a generous amount of butter. Once the butter is melted and starting to foam, add the chicken livers. Cook them, stirring occasionally, for about 6-8 minutes until they are browned but still pink in the middle. Be careful not to overcook the livers as this can make your pâté grainy rather than smooth.
Infuse with Garlic and Thyme
After you’ve cooked the chicken livers to perfection, it’s time to infuse them with garlic and thyme.
Add the chopped garlic to the pan with your chicken livers and cook for an additional one to two minutes, allowing the garlic to become fragrant. Then, stir in the chopped thyme leaves. The thyme will add a herby undertone to the pâté, complementing the rich, meaty flavor of the livers beautifully.
Deglazing the Pan with Brandy
Now, for the pièce de résistance – the brandy.
Deglazing the pan with brandy not only helps to lift those delicious, caramelized bits stuck to the bottom of the pan, but it also infuses the chicken livers with a warm, deep flavor. Simply pour the brandy into the pan and let it simmer for a couple of minutes, stirring to ensure the livers are nicely coated.
The key here is to use brandy of good quality. After all, the flavor of the brandy translates directly into your finished pâté.
Blending and Cooling your Pâté
Once the chicken livers have been perfectly cooked and infused with the flavors of garlic, thyme, and brandy, transfer the mixture to a food processor. Add a good amount of cream and blend until the mixture is silky smooth.
Next, transfer your pâté into a terrine or a small dish and let it cool. As it cools, it will firm up slightly, transforming into the rich, creamy pâté that is such a delight to spread on a piece of crusty bread.
Remember, your Chicken Liver Pâté is not just about the ingredients you use. It’s also about the love, care, and attention to detail you put into every step of the cooking process. So, get in the kitchen and start experimenting with this classic recipe today.
Perfecting the Final Touches
Venturing into the final stages of preparing your Chicken Liver Pâté, it’s time to address the finishings.
Start by straining the mixture through a sieve to ensure a truly silky smooth texture. Remember to press down on the solids to extract all the goodness and flavor. Once done, let it cool slightly before proceeding to the next stage.
Infuse your pâté with additional flavors by incorporating a bay leaf into the mixture. Simply place the bay leaf on top of your pâté in the dish. It subtly enhances the overall flavor profile without overpowering the primary taste of liver and brandy. You can also sprinkle some sea salt and black pepper for an added flavor punch.
Pour a thin layer of clarified butter or duck fat over the top of the pâté. This traditional French technique not only adds a savory layer to your pâté, but it also creates a natural preservation seal which extends the shelf life of your pâté.
Cover the dish with plastic wrap and let it chill in the refrigerator for at least six hours to allow the flavors to meld together. Overnight chilling yields optimal results, ensuring your pâté is well set and full of tantalizing flavors.
Conclusion: Enjoy and Share your Pâté
Now that you’ve perfected the recipe for Chicken Liver Pâté with Brandy, it’s time to enjoy the fruits of your labor.
Serving it is quite simple. Take it out of the fridge, remove the plastic wrap, and allow it to come to room temperature before serving. The pâté pairs beautifully with toasted crusty bread or crudités. Alternatively, you can get inventive and use it as an ingredient in other dishes.
Sharing is a fundamental part of the food tradition, so don’t hesitate to share this recipe with friends and family. It’s always satisfying to see others enjoy a dish you’ve prepared with love and care. Don’t forget to remove the bay leaf before serving, as it’s there for flavor and not meant to be eaten.
In conclusion, preparing Chicken Liver Pâté with Brandy is not just about following a set pâté recipe. It’s about the joy of cooking, experimenting with flavors, and finally, savoring a dish that is rich, creamy, and absolutely delicious. It might seem complex, but the process is quite straightforward and absolutely worth every minute you spend in the kitchen. Enjoy the journey as much as the result because ultimately, that’s what cooking is all about.